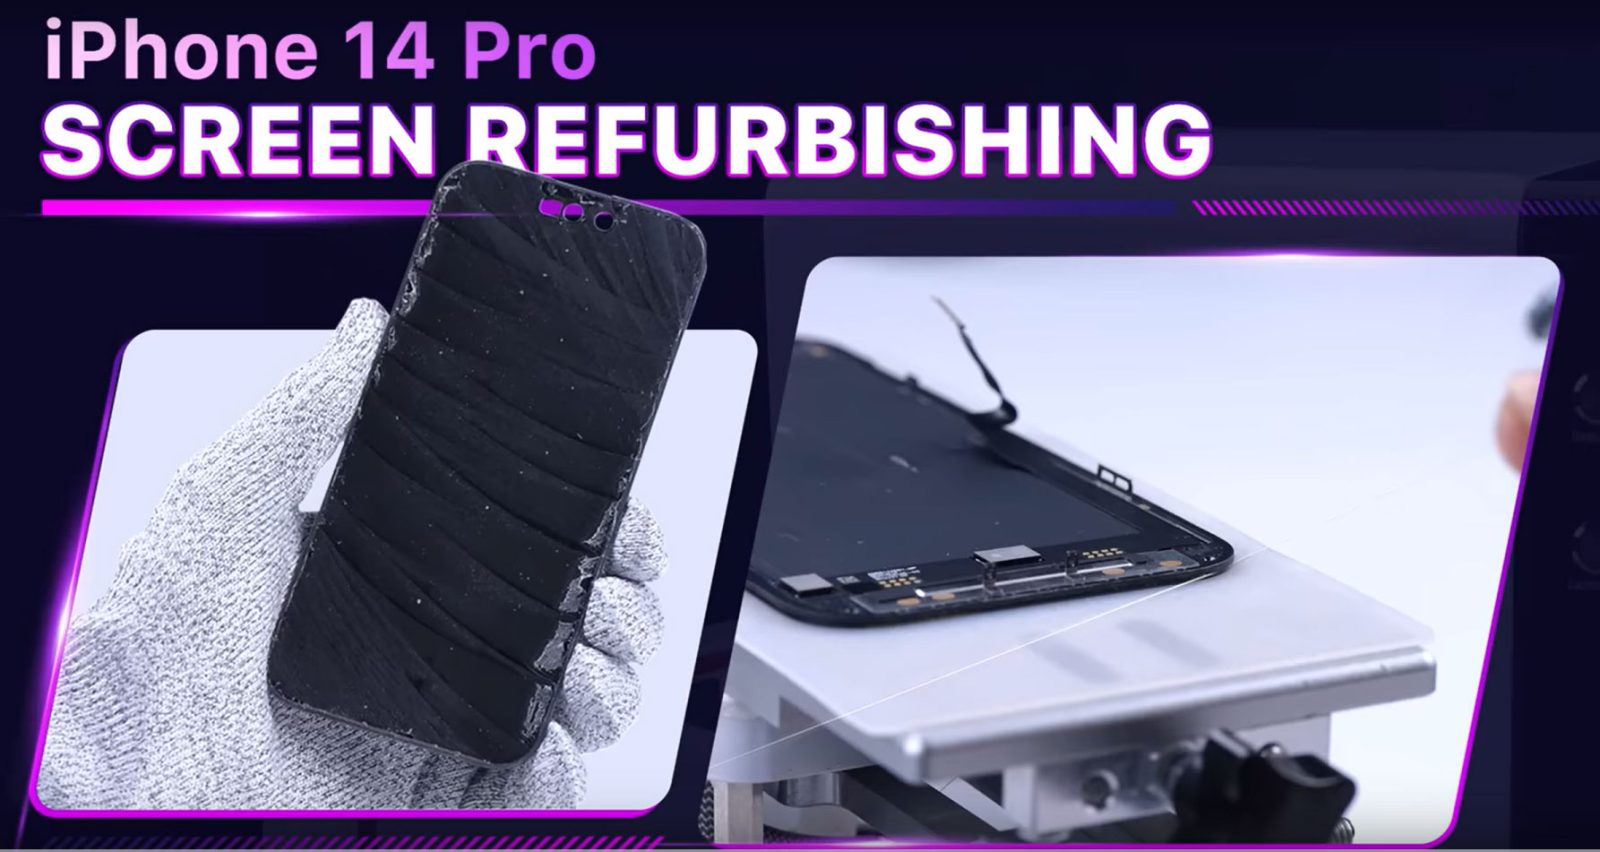
How to Refurbish iPhone 14 Pro Screen?

Apple just released the iPhone 14 with some amazing new features. Here is a tutorial you need to check out if you own an iPhone 14. In this article we will discuss how to refurbish iPhone 14 Pro Screen.
What is refurbishing a phone?
When a phone is refurbished, it means that something has been modified, upgraded, repaired, or changed to make sure it will work properly. If you want to save some money, you might want to consider buying a refurbished phone.
How to refurbish the iPhone 14 Pro screen?
Refurbishing an iPhone 14 Pro Screen is different than refurbishing a whole phone. It may be necessary to refurbish the screen on an iPhone 14 Pro in some cases. Refurbishing your iPhone 14 Pro is a wise option if you have dropped your phone or if you have a scratch on it.
Step 1:
The first thing you should do is make sure your iPhone 14 Pro’s screen is working properly. Your iPhone is ready for refurbishing if it works fine, but has scratches or any other problems with the upper screen.
Step 2:
It is necessary to disassemble the iPhone 14 Pro in order to refurbish its screen. To do this, place your phone on a heating pad at 100 degrees for 2 minutes. You can use any heating pad that you like or you can use a hair drawer also. However, if you are running a repair shop or perform repairs frequently, you might benefit from a heating pad.
Step 3:
Once the two minutes have passed, you will need to open the iPhone 14 Pro screen. Since the iPhone 14 Pro back is not removable, you must open the front screen whenever you need to repair it. A suction cup or special phone opener can be used to open the screen of your iPhone 14 Pro. When removing the screen, make sure the flex cables are disconnected.
Step 4:
It is now time to separate the screen glass from the frame. In order to remove the screen properly, you will need a screen separator. Make sure you use the right temperature to avoid any unexpected outcomes. To detach the sensing module, use some alcohol.
Step 5:
With the iPhone 14 Pro, there is no bezel frame covering the glass, so the glass can be separated without removing the frame. The glass should be separated from the frame with a cutting wire. The glass should be separated by hitting it at 100 degrees. It is also the most difficult task for many technicians, so please begin from the bottom.
Step 6:
The OLED glass should be separated from the substrate, and the OCA glue removed with a specialized OCA adhesive remover. OCA adhesive remover will make your work easier to remove the glue. In the iPhone 14 Pro, the touch panel is located under the polarizer, which makes it very vulnerable to damage. It is best to use an electronic glue remover tool to remove the glue properly. After that, test the LED to see if it is working properly.
Step 7:
We need to change the OLED of the screen now. Take off the adhesive tape from the OLED glass and align it carefully. And then insert into the Refox laminating machine and it should take some time to finish the task. Then you need to re-insert it into the bubble machine. It will take just 12 minutes and you will get your phone as new.
Conclusion:
The last step is to install the sensing module and then set up the screen on your iPhone 14 Pro. Then everything should work as it should. If you enjoy this refurbish iPhone 14 Pro screen tutorial please share and support our website.
